REVIEW · GRAND CAYMAN
Cayman Island Eastern Districts Highlights
Book on Viator →Operated by See & Sea Tours Ltd. · Bookable on Viator
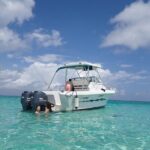
East Cayman packs a lot into 3.5 hours. This tour brings you from South Sound past local spots and then out to the coast for Sea-view stops, including Starfish Point time to wade in shallow water.
Two things I really like: you get both the island’s “wow” nature stops (like starfish and ocean action at the Blow Holes) and the human side of Cayman (Bodden Town’s Guard House and the Ten Sail shipwreck story, explained by the guide). One thing to think about: you’re on a schedule, so the best beach moments at Rum Point are limited to about 45 minutes—perfect for a break, not for a long soak.
In This Review
- Key highlights at a glance
- Eastern Grand Cayman in 3.5 hours: the value math
- South Sound and Old Crewe Road: quick culture stops between the coast views
- Bodden Town Guard House and the Blow Holes: where the drive turns into story
- Ten Sail Wreck Memorial: why it’s the “most famous” shipwreck
- Starfish Point: the 30 minutes you should plan around
- Rum Point: white sand, warm water, and a bar break
- Guides and the day’s pace: Charm and Robert make it work
- Comfort, packing, and timing: small details that prevent annoyance
- Who should book this Eastern Districts highlights tour?
- Should you book? My honest take
- FAQ
- How long is the Cayman Island Eastern Districts highlights tour?
- What time does the tour start?
- How much does it cost?
- What’s included in the price?
- Do I need to bring a towel or sunscreen?
- Where does the tour start and end?
- Is wading at Starfish Point part of the experience?
- Is pickup offered, and where do I meet if I’m not on pickup?
- What should cruise passengers know about timing and meeting?
Key highlights at a glance
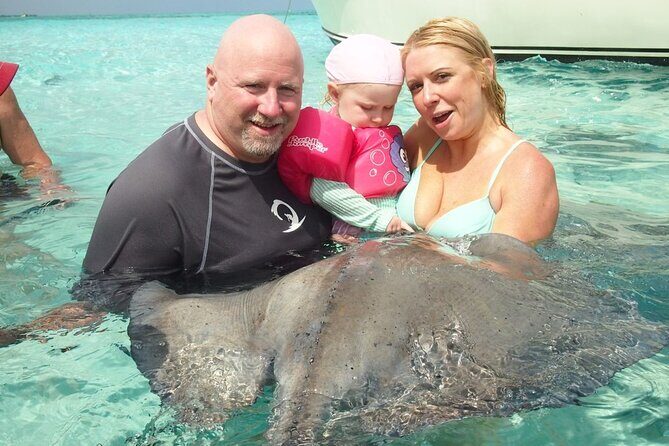
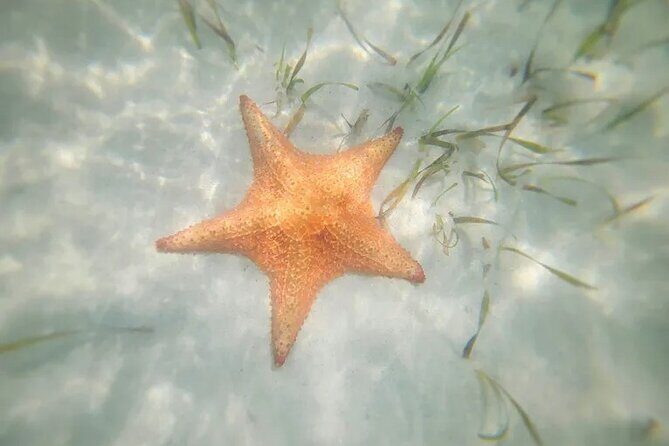
- Starfish Point wading time in shallow water with time to take photos
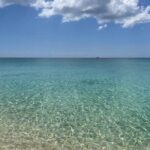
- Rum Point beach stop with white sand, warm turquoise water, and a waterfront bar
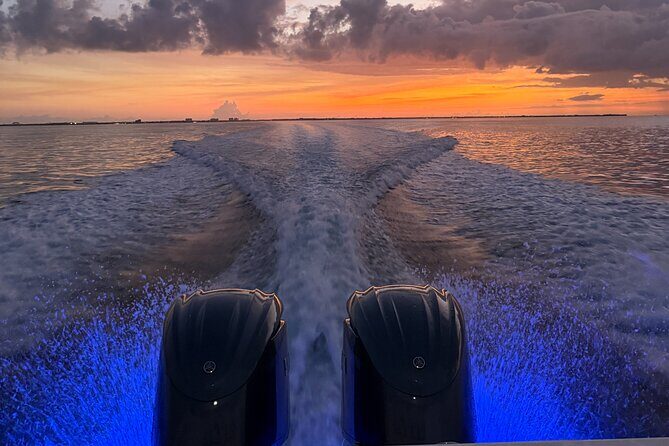
- Blow Holes ocean show where wave energy does the entertaining
- Ten Sail Wreck Memorial stop with guide explanations about why it became famous
- Bodden Town Guard House quick landmark stop that helps set the stage
- Small-group feel with a max of 30 travelers and an included guided narration
Eastern Grand Cayman in 3.5 hours: the value math

For $75 per person, this is a strong “see more of the island” option if you don’t want a full day on the bus. The tour runs about 3 hours 30 minutes, starts at 10:00 am on local island time, and keeps moving. That matters because it turns Eastern Grand Cayman’s highlights into something you can fit even on a cruise day.
You’ll spend real time at the places that most people plan their Cayman trip around: Starfish Point (about 30 minutes) and Rum Point (about 45 minutes). The rest of the stops are shorter—enough time to look, listen, and take photos without wasting your day.
Comfort is covered with an air-conditioned vehicle and a guided tour. What isn’t included is just as important: you’ll want your own towels and sunscreen (the tour won’t provide them). If you’re the type who shows up in regular clothes and hopes for the best, plan ahead—your time at the water stops will matter more than you think.
You can also read our reviews of more tours and experiences in Grand Cayman.


South Sound and Old Crewe Road: quick culture stops between the coast views
The day begins in the South Sound area of George Town, where you pass some of the island’s more luxurious side. Even if you’re not shopping, this is a fast way to understand how the island is laid out—coastlines nearby, neighborhoods connected by roads, and that constant ocean visibility.
From there, the route continues past Old Crewe Road, including a pass by a local brewery. This isn’t a long “tour the brewery” stop, but it’s a practical reminder that Cayman isn’t just beaches. It also has local businesses shaping daily life.
The scenic driving is more than a filler. It’s what turns this into an Eastern District highlights run instead of just a couple of roadside stops. You get the big picture: where the action is on the east end and how the coast changes as you travel.
Bodden Town Guard House and the Blow Holes: where the drive turns into story

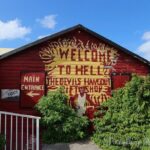
After you’ve gotten your bearings from the George Town side, the itinerary heads into Bodden Town. The key moment here is a stop at the Guard House of Bodden Town. It’s listed as a short 10 minutes, with admission free, but that short window can still be worthwhile because it adds local context. The guide also helps connect what you’re seeing to why the island’s towns developed the way they did.
Then comes Blow Holes in the East End district. You’re looking at a natural feature where ocean waves force their way through crevices. The stop runs about 15 minutes, so you’re there for the effect, not a long hike or long explanation. In practice, this kind of stop works best when you’re ready for quick timing: stand where the guide suggests, watch the waves do their thing, and take photos when the water erupts.
One practical note: because this is ocean-driven, conditions matter. If it’s rough out, the show can be amazing—or it can make it harder to stand comfortably. Dress for wet air and occasional spray.
Ten Sail Wreck Memorial: why it’s the “most famous” shipwreck
Next is a 15-minute stop at the Wreck of the Ten Sail Memorial, also free. This is where the guide’s role gets extra important, because you’re not just looking at a spot—you’re getting the story of why this area became so famous.
In the tour experience you’re buying, the history piece isn’t treated like a lecture. It’s explained as you’re there, with the guide tying it to the island’s coastline and how ships and weather have shaped life around the island.
From the way the day is paced, this stop is built to fill a gap: you get nature at Blow Holes, then you switch to a shipwreck story that helps the scenery feel grounded in real human events. And when a guide is good at linking those details, the whole route clicks.
Starfish Point: the 30 minutes you should plan around

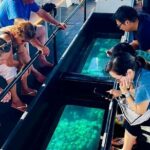
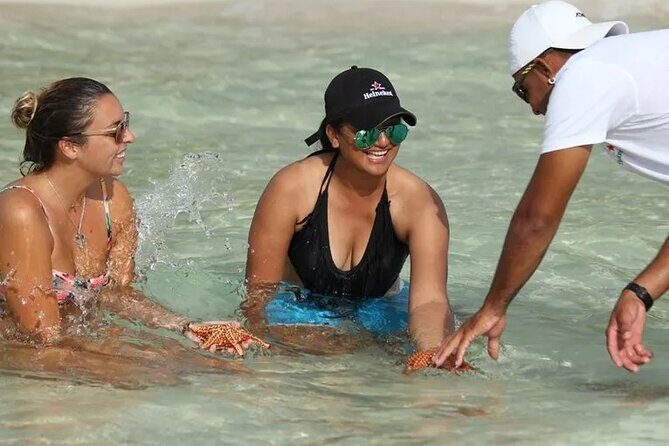
Starfish Point is the first big water stop, with about 30 minutes to wade in shallow water. The pitch is simple: you’ll see starfish in their natural habitat, and you’ll have time for photos.
This is the kind of stop that’s easy to underestimate. The whole point is that the water time is short, so if you want good starfish views, you should be ready quickly:
- Bring your swimsuit and changing clothes so you’re not stuck figuring things out on the spot.
- Wear footwear you’re comfortable getting wet (the tour doesn’t mention special gear, so plan for normal beach conditions).
- Have sunscreen on before you go—again, the tour doesn’t include it.
Also, bring the expectation that this is shallow-water viewing, not a long swim. You’re there to look down, move slowly, and get your photos without turning it into a sprint.


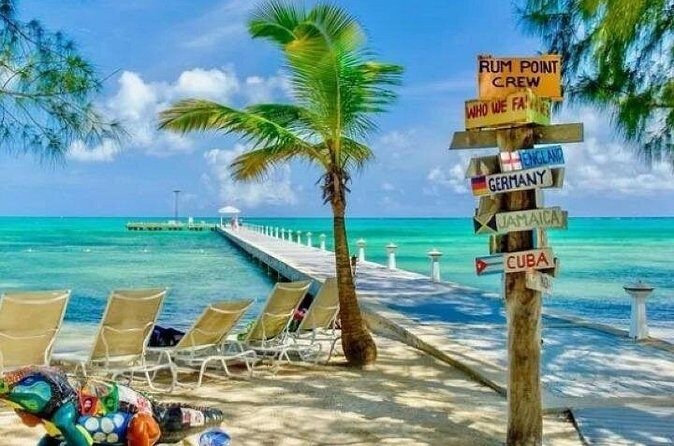
Rum Point: white sand, warm water, and a bar break

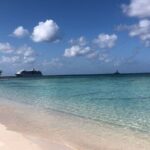
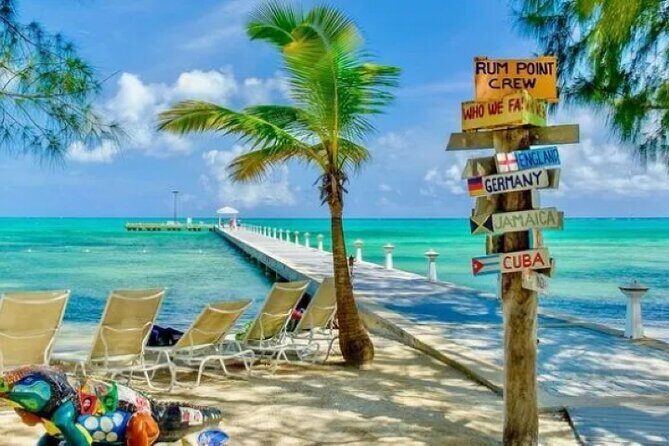
Then you head to Rum Point, also in the East End area. This is the beach lovers’ stop with about 45 minutes. It’s described as a paradise for water sports enthusiasts and beach lovers, with soft white sands and warm turquoise water—and yes, there’s time to enjoy it.
The practical difference between Starfish Point and Rum Point is that Rum Point is a real downtime moment. You can sip something at the waterfront bar, swim, and relax. It’s still time-limited, but it feels like a proper break because you’re not switching locations or listening for the next stop every few minutes.
If you like your beach breaks more than your photo stops, this is the moment to slow down. If you’re more into photos, go for angles early, since the sun shifts and the best lighting won’t wait for you.
Guides and the day’s pace: Charm and Robert make it work
The tour’s biggest strength isn’t just the route—it’s the human delivery. The experience highlights an exceptional guide named Charm, described as friendly and very thorough with explanations about island history, customs, and what you’re seeing at each stop.
On the driving side, Robert comes through in the same way: local, responsive, and good at keeping the day moving smoothly. That combination matters on a short tour. When the narration is clear and the transport is handled well, you don’t feel rushed in a bad way—you feel guided.
There’s also a standout detail from the way the day is run: Charm is noted for taking special care of a handicapped husband. That doesn’t mean the tour is designed like a medical service, but it does suggest the guide pays attention to needs and isn’t treating everyone as the same.
If you like tours where you leave with more than photos—facts that make the scenery make sense—this is the kind of setup to choose.
Comfort, packing, and timing: small details that prevent annoyance

A few logistics points make a big difference when you’re trying to enjoy water stops without stress:
Bring what the tour doesn’t provide. Towels and sunscreen aren’t included. You’ll be happier if you arrive with them ready, plus your swimsuit and changing clothes.
Expect a schedule. Some stops are only 10–15 minutes. That’s normal for a highlights route, but it means you should be ready to look, listen, and move.
Know what clock you’re using. The tour runs on local island time, not ship time. Cruise days can be tricky, so don’t plan around the ship’s schedule.
If you’re prone to getting sunburned fast, this is a simple fix: sunscreen before you start and reapply at the beach stop. Rum Point is where you’ll pay for bad planning.
Who should book this Eastern Districts highlights tour?
This tour makes sense if you want:
- A half-day Grand Cayman plan that covers multiple Eastern District highlights
- Both nature stops (Blow Holes, Starfish Point, Rum Point) and a story stop (Ten Sail Memorial)
- A guided route with real explanations, especially around local customs and history
It might not be the right fit if you want a slow beach day, because your Rum Point time is about 45 minutes. It also isn’t a full “cruise-style shopping circuit,” so if you’re expecting malls, this is more about coast and landmarks.
Best match: first-timers to Grand Cayman who want to understand the island quickly, and cruise passengers who need an organized route that doesn’t eat the whole day.
Should you book? My honest take
Book it if you like the idea of seeing East End’s big hits—Starfish Point and Rum Point—and getting context at Bodden Town and the Ten Sail Memorial without losing your day to travel.
Skip it (or pair it with something else) if beach time is your top priority and you want hours, not minutes, in the water. Also, plan on packing for sun and wet feet; this tour’s not set up like a spa day.
If you want a compact Grand Cayman route that mixes sea views, photo moments, and a guide who actually explains what you’re looking at, this is a solid choice.
FAQ
How long is the Cayman Island Eastern Districts highlights tour?
It’s about 3 hours 30 minutes (approx.).
What time does the tour start?
The start time is 10:00 am.
How much does it cost?
It’s $75.00 per person.
What’s included in the price?
You get an air-conditioned vehicle and a guided tour.
Do I need to bring a towel or sunscreen?
Yes. Towels and sunscreen are not included, so bring your own.
Where does the tour start and end?
It starts in George Town (South Sound area) and ends back at the meeting point.
Is wading at Starfish Point part of the experience?
Yes. At Starfish Point, you have time to wade in shallow water to see starfish in their natural habitat.
Is pickup offered, and where do I meet if I’m not on pickup?
There is complimentary pickup at hotels/condos along Seven Mile Beach. If you don’t require pickup, you meet at Cayman Falls Plaza, across the street from the Westin Hotel on Seven Mile Beach.
What should cruise passengers know about timing and meeting?
Cruise passengers should provide ship name, docking time, disembarkation time, and re-boarding time. Meet at Capt. Marvin’s Watersports check-in office at the Waterfront Centre, about 1/2 to 2 blocks left of the cruise terminal, and arrive at least 30 minutes early. The tour runs on local island time, not ship time.