REVIEW · GRAND CAYMAN
4 Stops Tour: Stingray, Snorkeling, Starfish & 7 Mile Beach
Book on Viator →Operated by Cayman Stingray Charter · Bookable on Viator
Stingrays and starfish in one afternoon.
This Grand Cayman 4-stop tour strings together the big-name highlights in about 4.5 hours: Stingray City, Starfish Point, snorkeling Coral Gardens, and a wrap-up at 7 Mile Beach.
What I like most is how much you get for the price, without making it complicated. You get snorkeling gear plus life vests, and you’re supplied with the squid used to feed the stingrays. Another win is how the stops are timed so you’re not stuck waiting around too long at any single location.
One thing to plan for: snacks, towels, and sunscreen are not included. Also, it’s a fast-moving day with several short water sessions, so come ready to change plans quickly and enjoy it anyway.
In This Review
- Key things to know before you go
- Why This Grand Cayman 4-Stop Plan Works
- Price and Logistics: What Your $60 Actually Covers
- Stop 1: Stingray City and the Feeding Moment
- Stop 2: Starfish Point for a Close Look at the Shallows
- Stop 3: Coral Gardens Snorkeling Without the Guesswork
- Stop 4: 7 Mile Beach for Real Relax Time
- What’s Included, What’s Missing, and What to Pack
- Small Group Energy: Why the Pace Feels Good
- Who Should Book This Tour (And Who Might Skip It)
- Should You Book Cayman Stingray Charter for Stingray City, Starfish Point, Snorkeling, and 7 Mile Beach?
- FAQ
- How long is the tour?
- What does the tour cost?
- Is pickup available?
- Is snorkeling gear included?
- Are admission tickets included for the stops?
- What should I bring since it’s not included?
- What happens if weather is poor?
Key things to know before you go
- Four iconic stops packed into one 4.5-hour outing
- Snorkeling gear and life vests included, so you can show up prepared
- Squid to feed the stingrays is part of the experience
- Cool drinks onboard (bottled water plus soda/pop)
- Small group size (25 max) keeps things easier at the water
- Bring your own sunscreen and towel, plus any snacks you want
Why This Grand Cayman 4-Stop Plan Works
Grand Cayman can be deceptively easy to do wrong. You think you’ll have time, then you spend half a day on transit, wait times, and figuring out which beach is closest. This tour is built to avoid that trap. You get a tight route that covers the most popular marine experiences and then finishes with actual beach time.
I also like the logic of the sequence. You start with the hands-on wildlife at Stingray City, then switch to Starfish Point, and only after that do the snorkeling at Coral Gardens. By the time you reach 7 Mile Beach, you’ve already had your water time, so the final stop feels like a breather instead of another rushed activity.
It’s a good pick if you’re visiting for the day from a cruise ship or you just don’t want to commit to an all-day excursion. The tour runs about 4 hours 30 minutes, and most of that time is spent at the water rather than in long, empty stretches.
You can also read our reviews of more snorkeling tours in Grand Cayman
Price and Logistics: What Your $60 Actually Covers
At $60 per person, the value comes from what’s included and how the schedule is structured. This is not just a ride with a couple quick photo stops. You get bottled water and soda/pop onboard, plus use of snorkeling equipment and life vests.
You also get the food element for Stingray City, with squid to feed the stingrays. That matters, because the feeding part is one of the reasons this location is famous. If you’ve ever wondered what you’re supposed to do once you arrive, this tour handles it for you.
The tour also keeps group logistics manageable. It has a maximum of 25 travelers, and that small size can help when you’re moving between water access points and getting gear sorted.
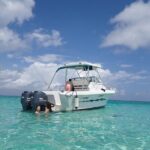
Practical note: pickup is offered, and there’s shuttle service from the George Town Cruise Ship Port and 7 Mile Beach resorts. If you’re staying near 7 Mile Beach, you’ll likely find the timing convenient.
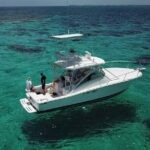
You’ll receive confirmation at booking, and you can use a mobile ticket. You’re also starting from Yacht Drive (Yacht Dr) and returning there at the end.
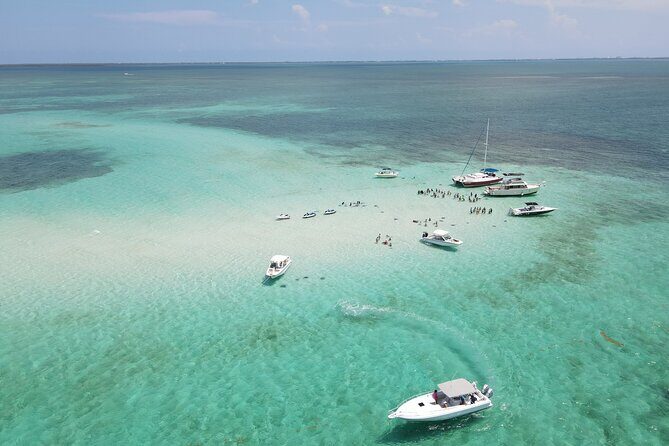
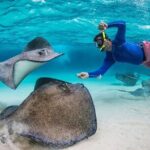
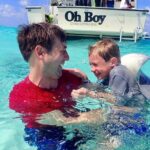
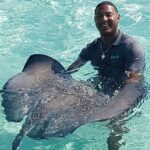
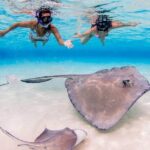
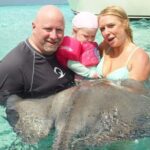
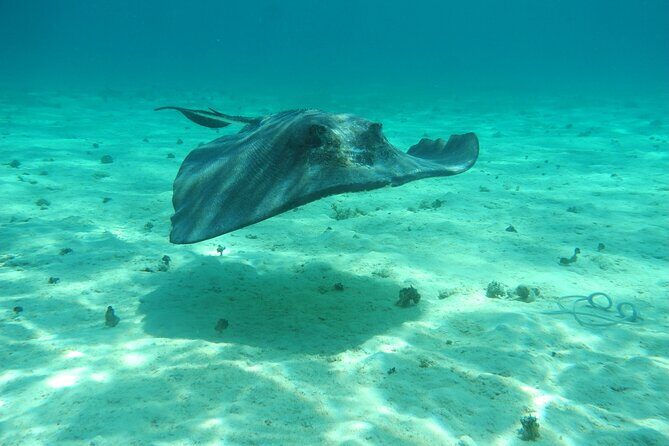
Stop 1: Stingray City and the Feeding Moment
Stingray City is the star of Grand Cayman for a reason. The water is clear enough to spot what’s happening, and the sandy shallows make it easy to interact without needing deep-water skills. The tour’s first stop gives you about 35 minutes, which is long enough to get comfortable and still keep the day moving.
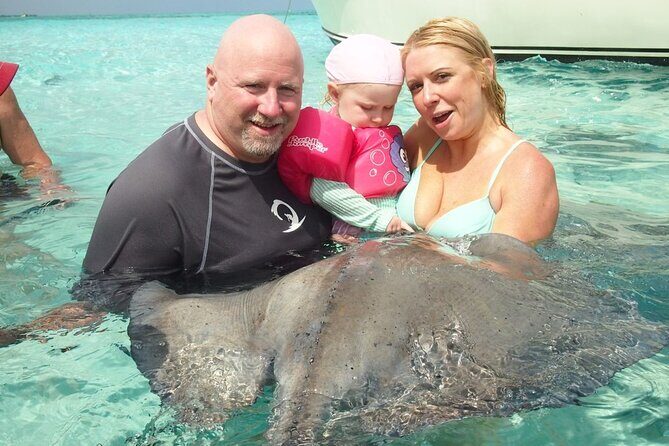
The experience centers on calm, controlled interaction. You’re given a life vest, and the staff provides the squid used to feed the stingrays. That helps you focus on the moment rather than guessing how feeding works.
A practical way to think about this stop: it’s both an animal encounter and a photo opportunity. At Stingray City, you’re close to the action, so it’s a great place to get photos and video. The operation is also praised for running turns smoothly, which can matter if multiple people want the same spot for pictures.
What to consider going in:
- Expect water that’s cool and close-contact, even if it looks shallow.
- Wear what you’ll be comfortable getting wet in.
- Follow the guide’s instructions for how to hold still and where to stand.
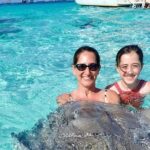
If you’re traveling with kids or first-time snorkelers, Stingray City is often the easiest way to get the marine experience without demanding underwater breathing skills.
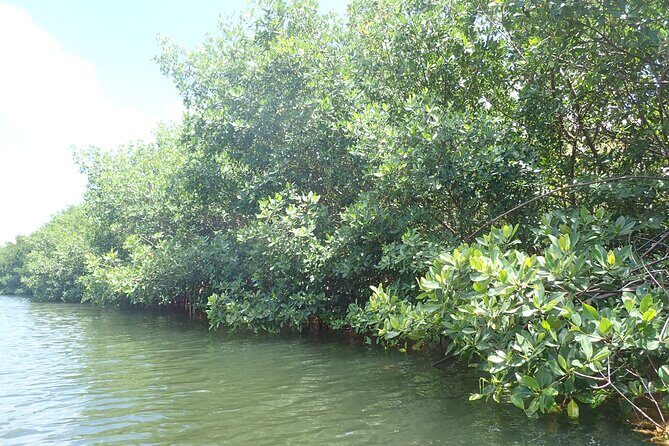
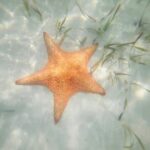
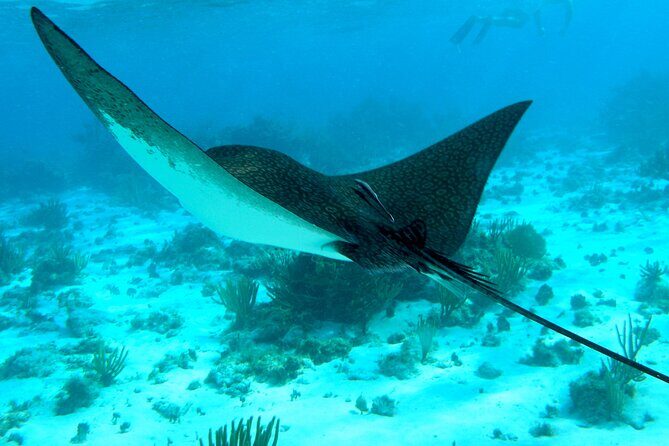
Stop 2: Starfish Point for a Close Look at the Shallows
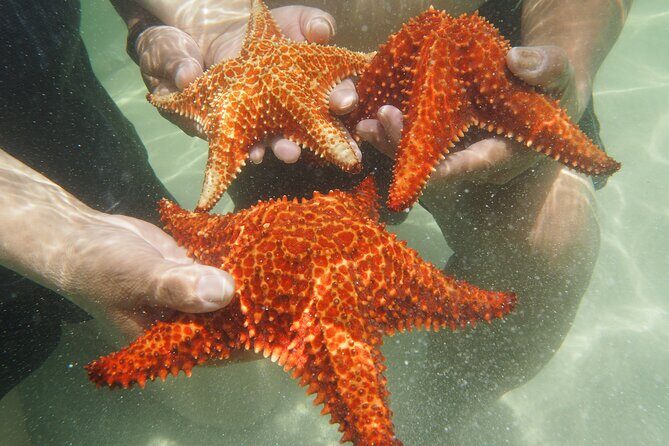
After Stingray City, you’ll head to Starfish Point, another shallow-water stop with about 35 minutes on site. The appeal here is simple: crystal-clear water and sand where you can spot starfish.
This isn’t about speed. You’re given time to look carefully, ask questions, and get your bearings in the shallows. Starfish can be harder to see than stingrays until you know where to focus, so having a guided stop helps.
A helpful mindset for this location: move slowly and watch the water surface and the sand line at the same time. Starfish tend to be right where your eyes naturally pass over, so patience is part of the experience.
What I’d watch for during your visit:
- Keep an eye on where other people are standing so you don’t accidentally crowd a viewing spot.
- Let your guide direct you on where to go and what to do.
- Use your time wisely—35 minutes goes fast once you start spotting starfish.
Starfish Point is also a strong match for families. It’s a different kind of wildlife encounter than Stingray City, but it keeps the same hands-on, close-to-the-water feel.
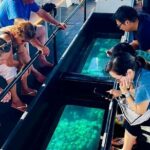
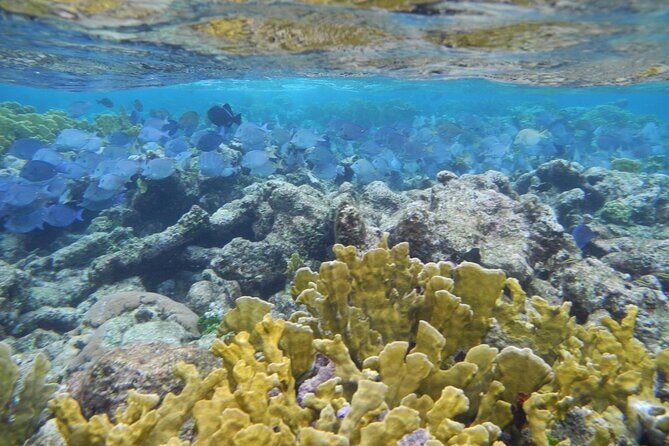
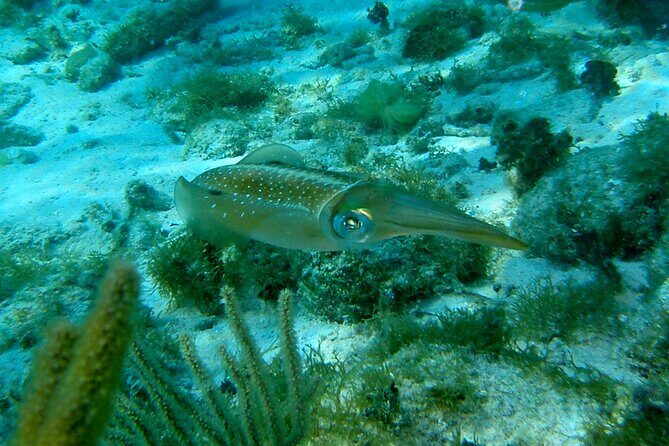
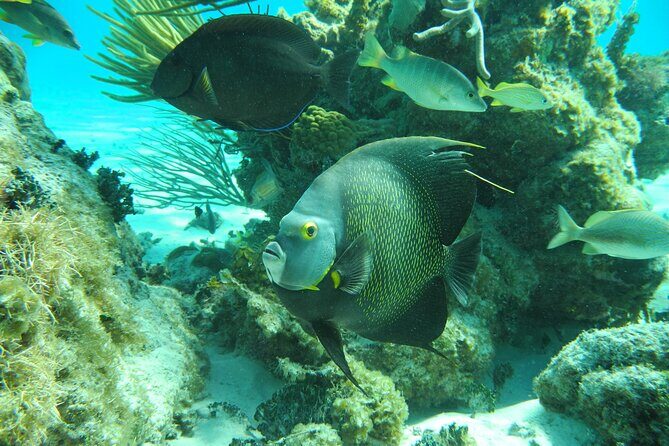
Stop 3: Coral Gardens Snorkeling Without the Guesswork
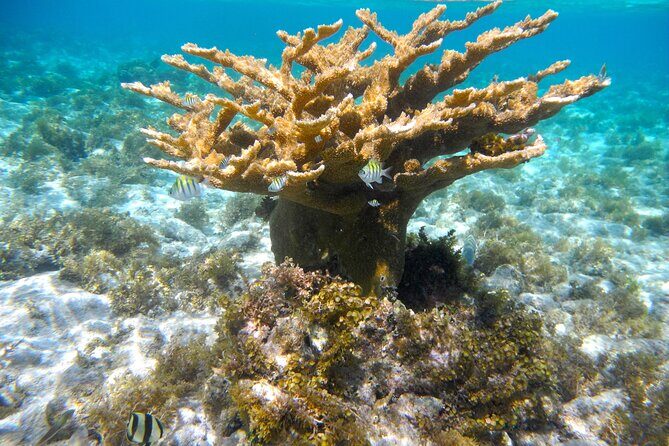
Next up is the Coral Gardens snorkeling stop, also around 35 minutes. This is where you trade sand-and-shallow wildlife for underwater reef scenery.
Snorkeling gear is included, and you’ll have life vests. That means you can show up without buying or renting equipment separately. It also makes the stop less intimidating if you’re a beginner or you don’t snorkel often.
Coral Gardens is known for corals and marine life, so the goal here is to enjoy fish and reef shapes at a relaxed pace. With only about 35 minutes, you won’t have to manage a long, complicated plan. Think of it as a taste of Cayman’s underwater world rather than a full-day snorkeling mission.
A few practical tips that help:
- Don’t try to rush to the farthest edge. Snorkeling quality usually improves when you slow down.
- Keep your breathing steady and your head position comfortable so you can actually look at the reef.
- If you’re sensitive to sun, plan your sunscreen application before you get too wet (since sunscreen isn’t included).
Snorkeling is often where people either love a tour or regret it. Here, the included gear and the structured timing make it much more likely you’ll leave feeling satisfied instead of stressed.

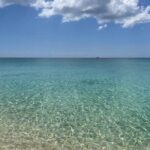
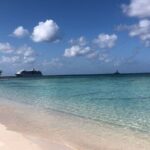
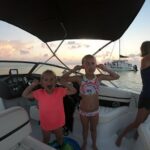
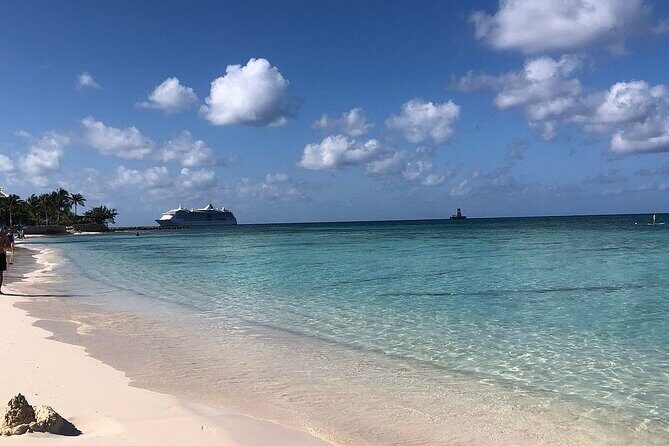
Stop 4: 7 Mile Beach for Real Relax Time
The last stop is 7 Mile Beach, with about 45 minutes of beach time. This is the payoff for the day: you’ve done the wildlife, and now you can lay back, soak your feet, and enjoy the sand.
7 Mile Beach is popular because it’s easy to enjoy. You get wide, soft-looking shorelines and clear water for a quick swim or just relaxing while you dry off. Since the snorkeling stop is earlier, this final segment feels like a wind-down rather than another activity that requires gear and technique.
This is also where you can reset your body. Your day is mostly water-focused, so beach time is a chance to warm up, change how you’re holding your phone, and take a few non-rushed photos.
One practical catch: towels are not included. If you like having a full beach setup, bring a small towel or plan to dry off in a way that works for you.
If you’re traveling as a couple or a family, this last stop tends to feel like the most flexible part of the tour. You can be social, slow down, or just enjoy the view for the time you have.
What’s Included, What’s Missing, and What to Pack
This tour covers the essentials for the water stops, but it does leave a few gaps you’ll want to fill yourself.
Included:
- Bottled water and soda/pop
- Use of snorkeling equipment
- Life vests
- Squid to feed the stingrays
Not included:
- Snacks
- Meals
- Towels
- Sunscreen
So here’s what I’d pack if I were doing this on a day with multiple water moments:
- Sunscreen you trust for your skin
- A towel you’re comfortable drying off with
- Any snacks you know you’ll want between stops
- A swimsuit (obviously), plus a change of clothes for afterward
- If you hate wet gear, bring a small bag for what you’ll toss in it
Also, since there’s good-weather dependency, I’d keep an eye on conditions the day you go. If weather gets rough, the tour may shift or get canceled, and you’ll be offered another date or a refund.
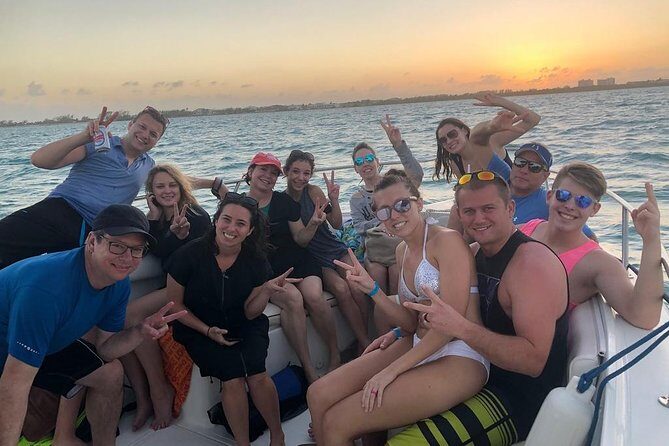
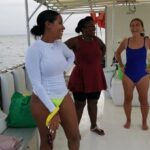
Small Group Energy: Why the Pace Feels Good
A maximum of 25 people is a real factor here. It helps the crew move faster between stops, and it also reduces the feeling of being one of a hundred people crowding the same access point.
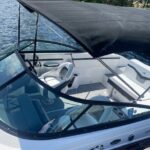
One of the most praised parts of the experience is how smooth and organized it feels. You start at the designated meeting point, then you move toward the water activities with an air-conditioned vehicle. Communication is also highlighted, which matters because the day includes multiple locations and you don’t want to waste time wondering what’s next.
In at least some departures, the guide Ronnie is named, and the focus is on getting people good turns for the stingray and starfish moments. That’s not just nice service. It changes how the experience feels. If photos and feeding time are handled calmly, you enjoy the wildlife instead of waiting for your turn under pressure.
Who Should Book This Tour (And Who Might Skip It)
This is a great fit for:
- Cruise visitors who want the best-known Cayman marine stops without a full day
- First-time snorkelers who want gear provided and a short, guided reef session
- Families, especially with kids, since the tour notes that children under 3 join for free
- People who want a mix of hands-on wildlife and beach relaxation
You might consider another option if:
- You want a long beach day with lots of time to wander, not just 45 minutes
- You’re hoping for a deep, long snorkeling session with extended time underwater
- You need a tour with meals included (snacks and meals aren’t part of this price)
Should You Book Cayman Stingray Charter for Stingray City, Starfish Point, Snorkeling, and 7 Mile Beach?
If you want an organized day that hits Grand Cayman’s biggest marine attractions and then gives you real beach time, I’d say this is an easy yes. The value is strong because snorkeling gear, life vests, and even the squid feeding component are included, plus you get drinks to keep you comfortable between stops.
The biggest downside is also the easiest one to solve: plan for what’s not included. Bring sunscreen and a towel, and pack a snack if you know you’ll want one. Once you do that, the tour’s structure does the heavy lifting.
Book it if your goal is a fun, efficient day that feels like Cayman wildlife plus a classic beach finish.
FAQ
How long is the tour?
The tour runs about 4 hours 30 minutes (approx.).
What does the tour cost?
It’s $60.00 per person.
Is pickup available?
Pickup is offered, and there is shuttle service from the George Town Cruise Ship Port and 7 Mile Beach resorts.
Is snorkeling gear included?
Yes. Snorkeling equipment is included, along with life vests.
Are admission tickets included for the stops?
The information provided notes admission tickets are free for the stops listed.
What should I bring since it’s not included?
Snacks, meals, towels, and sunscreen are not included. Bringing your own towel and sunscreen is a smart move.
What happens if weather is poor?
The tour requires good weather. If it’s canceled due to poor weather, you’ll be offered a different date or a full refund.